How You Can Complete ASUS Router Setup via Different Ways?
ASUS Wireless routers provide the fastest and reliable internet services. With this router, you can play online games, stream videos and scroll social media without any interruption. The ASUS router setup is easy and it is simple to use. In this informative blog, you will gather information of detailed instruction of ASUS WiFi router installation. Here, we will provide the information of the hardware setup and accessing the web-interface utility via wired and wireless connected internet devices like computer, laptop or phone. Let’s start with ASUS device overview first.
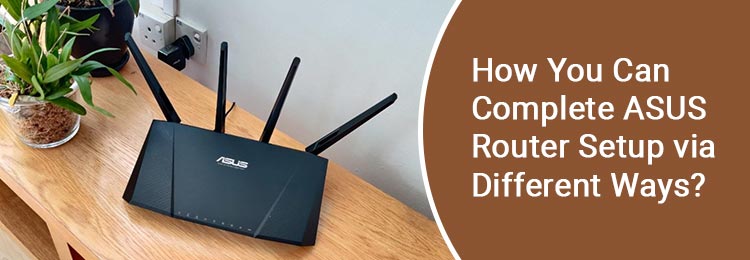
ASUS WiFi Router- Overview
On the WiFi router hardware, you will see WAN, LAN, USB, power port and power, reset button on the back of the ASUS networking device. On the front, you will find network antennas that help your WiFi signals to reach to the every corner of your home. At the top front, you will find different LED lights that show status of the WiFi router.
Now, take a look on the hardware setup instructions to start your router’s network.
Hardware Installation Instructions
To turn on the ASUS WiFi router, you have to connect it to the cable modem, so that router can receive the WiFi signals. To link your modem to the ASUS router, you have to apply simple below-written steps.
Place It Close to Modem
- The first thing you have to do to connect your router to modem is find an optimal location.
- Optimal location means that place where no electronic device or concrete wall nearby.
- After finding the spot, you have to put it close to the modem to link both the networking devices.
Link Router to Modem
- You have to use the network cable to link the modem and router.
- Insert one end of the cable to the WAN or internet port of the router and LAN port of the cable modem.
- Now, connect the power cord to power port of the router and insert the adaptor to an electrical wall socket to supply electricity to the router.
Press Router Power Button
To start the ASUS WiFi router, you have to locate the power button on the back of the networking device. Then press it and your WiFi router will turn on.
If you have reached at this stage of ASUS router setup, then it is time to manage the settings and networks of your ASUS device.
Complete ASUS Router Setup- Web GUI
This section has two sub sections that contain accessing the router setting page (web GUI) through computer and phone.
Access Web GUI via Computer
- To access the router setting page, you have to connect your computer to the router with an LAN cable.
- Now, locate the login URL and IP address on the back of the router.
- You will also find user details like username and password under the URL.
- After making the link between the computer and router, open the web browser.
Search up the login URL router.asus.com or IP address like 192.168.10.1 which you will find at the back of the router.
- This search will take you to the login page of the web GUI interface of the router.
- Just enter the username and password that you have located at the back of the router or use the user manual to type details.
- Then, you will be directed to the QIS (Quick internet setup) page.
- You will see ‘Create A New Network’ button on the bottom of the QIS page.
- Now, you can setup all the settings and manage the admin user from this web GUI interface.

This simple process will help you to complete the ASUS router setup through your computer. Have a look at one other sub section contains the installation through your smartphone.
Access Web GUI via Phone
- Connect your phone to the router wirelessly.
- Download and install ASUS router app from the Play Store.
- Open the ASUS router application in your phone.
- Then, follow all written steps mentioned in the above section to access the web GUI interface.
Last Lines
At the last of this informative blog, you have learned about the ASUS router setup, hardware overview and installation. Hopefully, you have successfully completed the setup procedure with the help of these above-written sections.