192.168.12.1: Router Login and Setup
Whenever a user thinks of enhancing their WiFi coverage range and reaches out to us asking for how to improve WiFi range, we suggest them opt for WiFi router. Really, WiFi routers are the best thing that we can give our home network. Note this down, routers play a vital role in providing users across the globe to access the internet even in those corners of the house where WiFi was never expected before. Wondering about how to set up WiFi router using 192.168.12.1 IP? Wonder no more! In this guide, you will get complete instructions to log in to your router and set it up with ease. Given that, continue reading!
WiFi Router Login using 192.168.12.1
First, we are going to highlight the instructions to log in to your WiFi router using 192.168.12.1 IP. Why? Because the router login is the first step towards setting up the device! Remember that, without executing the login process, router setup process using the manual method is incomplete. So, what are you waiting for, the Easter? No? Then, scroll down a little and learn how to perform the router login process using 192.168.12.1 IP for setting it up in a hassle-free way.
Call Toll Free for Support: 1-866-889-0666
- Power on your WiFi router and then connect it with your internet modem using an Ethernet cable.
- After powering up the router and connecting it to your modem, the next step is to turn on your computer or laptop. And, once you turn on your client device, connect it to your router’s SSID.
Well, in such a case, we suggest you grab another cable (apart from that you have used for connecting your router and modem) and use it for connecting your computer and your WiFi router.
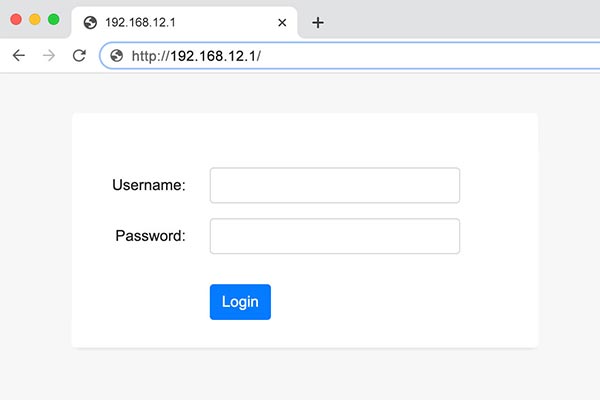
- Open a web browser any of your choice, but only an up-to-date one. And, then copy 192.168.12.1, paste it into the URL bar, and press the Enter key. Using the copy-pasting technique will prevent you from committing typos in the IP.
Pro Tip: Clear browsing history and update the internet browser you are using for doing router login process.
Bonus!
192.168.1.1 IP is also used for logging in to WiFi router.
- You will be put directly on the login window of your WiFi router.
- Input the default login username and password of your router in the required fields.
- Click Log In and the dashboard of WiFi router for configuring it in a hassle-free manner will display.
Kudos! You are successfully done with router login process using 192.168.12.1 IP. Scroll down a little and know how to get the WiFi router configured in a matter of minutes using the manual method.
192.168.12.1: WiFi Router Setup
Here are the steps that will guide you with the router setup process using 192.168.12.1 IP (manual method):
- Soon after accessing the dashboard of your WiFi router, you will see couple of on-screen instructions displayed on your computer home screen.
- Follow the instructions in the way they are provided and get the router configured in minutes.
WiFi Router Setup: Using WPS Method
If you find the WiFi router manual setup instructions a daunting task, opt for the WPS method and get the device configured in a snap.
- Plug in your WiFi router and internet modem in close proximity.
- Locate the WPS button on your modem/ gateway. And, once you find it, press it.
- Within 10-15 seconds, you have to press the WPS button on your WiFi router as well.
Your WiFi router is configured using the WPS method. Log in to your WiFi router using 192.168.10.1 IP to update its firmware (if available) and to modify its (the router’s) existing/ default settings.
Note: Let us assume that your WiFi router and internet modem/ gateway both or any one of them don’t have the WPS button on them. Okay? The, what will you do in such a case? Well, don’t worry! We suggest you configure your router using the manual instructions instead.
WiFi Router Not Working After Setting It Up?
“My modem/ gateway and router both are WPS-capable and I have successfully configured them. How am I supposed to know that? By seeing the stable green WPS LED on my router and modem! But, the thing is, WiFi router is not working. Help!”
Need not to worry! It is because of technical glitches that your router is not working after setting it up successfully. Hence, to make the most out of the WiFi router, it is suggested to power cycle it.
The instructions that will help you power cycle your WiFi router are as follows:
- Unplug your WiFi router and disconnect it from your gateway/ modem.
- Wait for 3-4 minutes and plug in your WiFi router back.
- Reconnect it to your internet modem using WPS or using wired source.
Is your router working after restarting/power cycling? Verify the same by accessing any one of the following IPs:
- 192.168.12.1
- 192.168.1.1
- 192.168.10.1
To Conclude
Our post on how to do WiFi router login and setup using 192.168.12.1 IP ends here. We hope that the instructions to perform the router login and router setup process we have mentioned here were easy and helpful. If yes, then we are wrapping up this post with the post that we have helped you out with the router login and setup process.